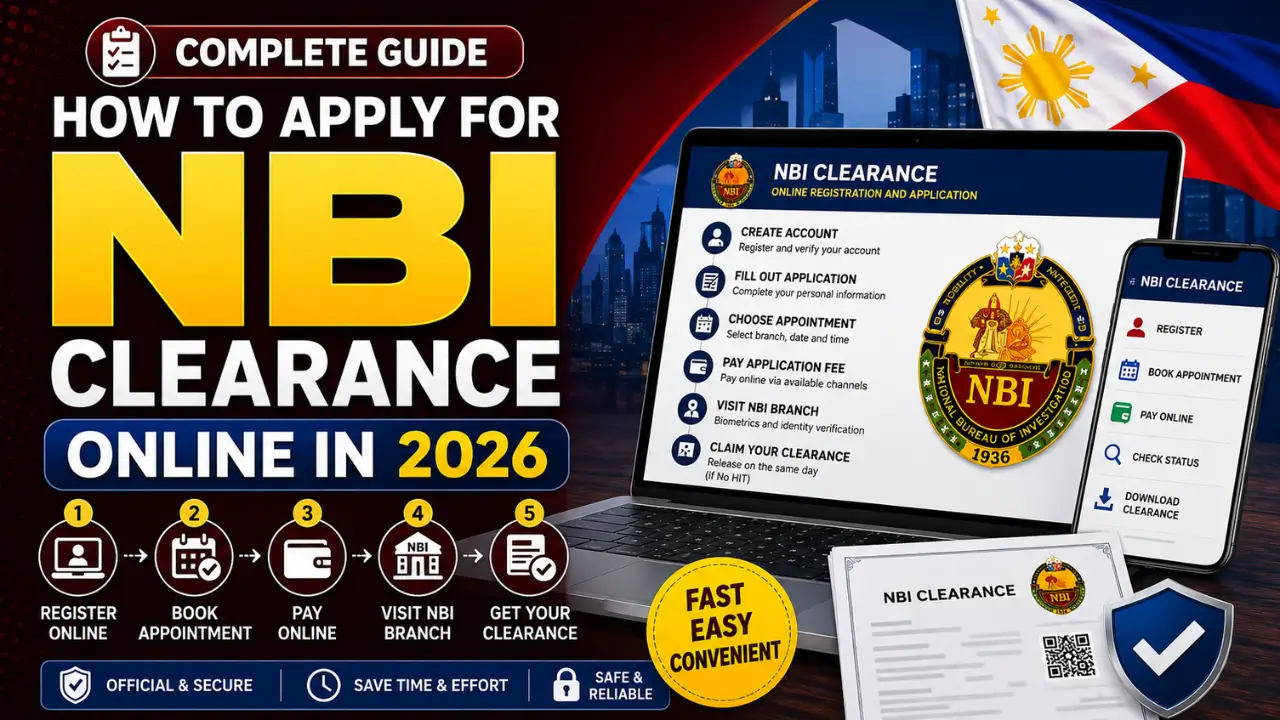
Applying for an NBI Clearance is one of the most important requirements for many Filipinos. Whether you’re applying for your first job, renewing government documents, starting a business, traveling abroad, or applying for a visa, an NBI Clearance is often required as proof of identity and good standing.
To make the application process easier, the National Bureau of Investigation (NBI) offers an online application system. Instead of spending hours waiting in line, applicants can register online, choose an appointment schedule, pay the required fee, and visit their selected NBI branch for identity verification.
What Is an NBI Clearance?
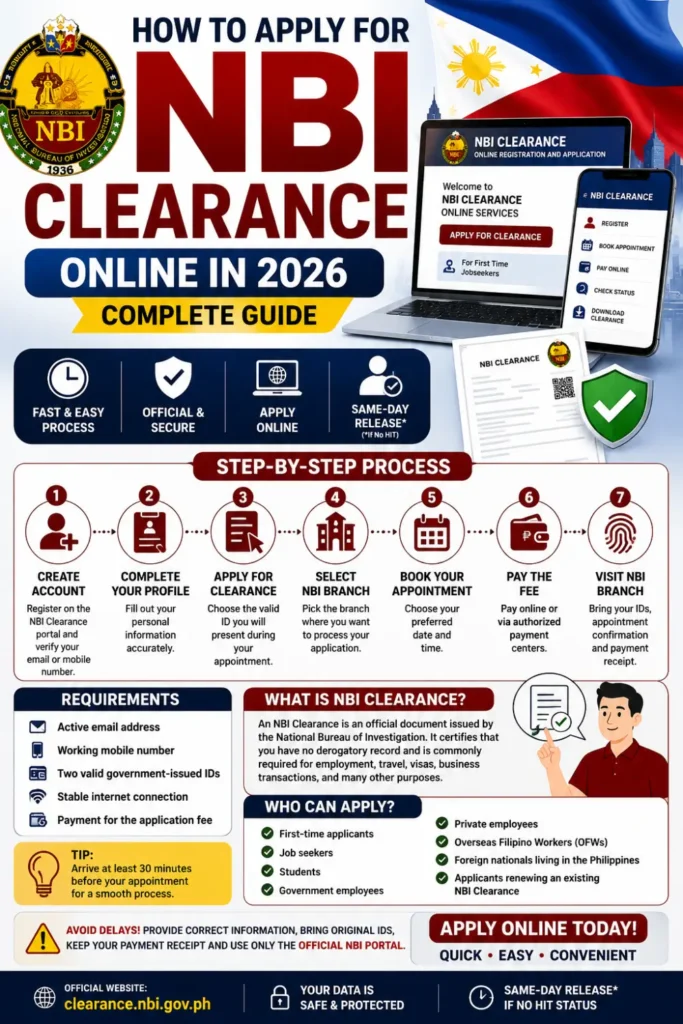
An NBI Clearance is an official document issued by the National Bureau of Investigation (NBI) in the Philippines. It certifies that the applicant has undergone verification through the NBI database and is commonly required for employment, government transactions, passport applications, visa processing, business registration, and many other legal purposes.
Who Can Apply for an NBI Clearance?
The online application is available for:
- First-time applicants
- Job seekers
- Students
- Government employees
- Private employees
- Overseas Filipino Workers (OFWs)
- Foreign nationals living in the Philippines
- Applicants renewing an existing NBI Clearance
Requirements Before Applying
Before starting your online application, prepare the following:
- An active email address
- A working mobile number
- Two valid government-issued IDs
- A stable internet connection
- Payment for the application fee
Applicants should ensure that all personal information matches the details shown on their valid identification documents.
You Can Also Read : NBI Clearance – Apply Online
Step-by-Step Guide to Apply for NBI Clearance Online
Step 1: Create an NBI Account
Visit the official NBI Clearance portal and register for a new account if you are a first-time applicant.
During registration, provide:
- Full Name
- Date of Birth
- Gender
- Nationality
- Mobile Number
- Email Address
You will receive a verification code (OTP) to activate your account.
NBI Clearance Online Application 2026
| Requirement | Details |
| Email Address | An active email address for account registration and verification |
| Mobile Number | A working Philippine mobile number |
| Valid IDs | Two valid government-issued IDs |
| Internet Connection | Stable internet connection for registration and appointment booking |
| Payment | Required application fee, unless eligible for a fee exemption |
| Appointment | Select an available NBI branch, date, and time |
| Payment Reference | Keep your payment receipt or reference number |
| Biometric Verification | Fingerprints, photograph, and digital signature are usually captured at the NBI branch |
Step 2: Complete Your Profile
After logging in, fill out your complete applicant profile.
You may be asked to provide:
- Home Address
- Civil Status
- Birth Information
- Educational Background
- Employment Details
- Family Information
Review every detail carefully before saving your profile.
Step 3: Click “Apply for Clearance”
Once your profile is complete, select the Apply for Clearance option.
The system will ask you to choose the valid ID that you will present during your appointment.
Step 4: Select an NBI Branch
Choose the branch where you want to process your application.
Most applicants select a branch close to their:
- Home
- Office
- School
The system will display available appointment schedules.
Step 5: Book Your Appointment
Select your preferred:
- Date
- Time
- Branch
Early booking gives you more available time slots.
You Can Also Read : NBI Clearance Online Application in 2026
Step 6: Pay the Application Fee
After confirming your appointment, choose one of the available payment methods.
Common payment options include:
- GCash
- Maya
- Online Banking
- Bayad Center
- 7-Eleven
- ECPay
After payment, save your receipt and reference number because they will be required during your appointment.
Step 7: Visit Your Selected NBI Branch
On your appointment day, bring:
- Two valid government-issued IDs
- Appointment confirmation
- Payment receipt or reference number
At the branch, NBI staff will:
- Verify your identity
- Capture your fingerprints
- Take your photograph
- Record your digital signature
If your application has No HIT, your clearance may be released on the same day. If your application receives a HIT Status, additional verification may be required before release.
Common Mistakes to Avoid
Many applicants experience delays because of simple mistakes.
Avoid the following:
- Using an incorrect email address
- Entering the wrong personal information
- Bringing expired IDs
- Forgetting your payment receipt
- Missing your appointment schedule
- Using unofficial websites
Helpful Tips
For a faster application process:
- Register using your legal name.
- Double-check all information before submitting.
- Arrive at least 30 minutes before your appointment.
- Bring original identification documents.
- Keep digital and printed copies of your payment receipt.
- Use only the official NBI Clearance portal for registration.
Final Thoughts
Applying for an NBI Clearance online is now faster and more convenient than ever. By creating an online account, completing your profile, booking an appointment, paying the required fee, and preparing the necessary documents, you can complete your application with minimal delays. Always use the official NBI Clearance portal, provide accurate personal information, and follow the latest instructions to ensure a smooth and successful application process.
Frequently Asked Questions
Can I apply for NBI Clearance completely online?
You can complete the registration, appointment booking, and payment online. However, most applicants must still visit an NBI branch for biometric capture and identity verification.
How many valid IDs do I need?
Most applicants should bring two valid government-issued IDs during their appointment.
How long does the application take?
If your application has No HIT, the clearance is often released on the same day. Applications with a HIT Status may require several additional working days for manual verification.
Can first-time job seekers apply for free?
Yes. Qualified first-time job seekers may be eligible for a free NBI Clearance by applying through the designated First-Time Job Seekers process and submitting the required supporting documents.